Article overview
This guide describes common stages, not a specification for every hanger.
How wooden hangers are made: the main stages
VNEW’s published overview explains how wooden hangers are made through material preparation, shaping, sanding, finishing, assembly, inspection and packing. These stages connect: an attractive coating cannot correct a shape that does not fit the intended garment, and careful shaping can be undermined by rough edges or poorly fitted hardware.
Start by choosing the appropriate wooden hanger design and identifying the clothes it will carry. A jacket hanger, a slim shirt hanger and a trouser-bar design place different demands on the wooden body and fittings. The approved sample should establish the intended result before production.
1. Prepare the wood and confirm the construction
Ask the supplier to identify the wood species offered for the chosen model and explain its construction. Wooden alone does not specify either. Do not assume every solid wood hanger is carved from one continuous piece.
For a two-part solid wood hanger design that uses an adhesive joint, glue is applied to the mating surfaces before the two wooden blanks are brought together and held in alignment. This joins the components into one hanger profile; it is a construction step, not a surface decoration. The adhesive and joining method are model-specific, rather than a universal recipe for every wooden hanger. Review the joining area as well as the visible grain on its finished sample. If moisture condition or suitability for a destination matters, ask what controls and evidence are available rather than relying on an unsupported universal moisture percentage.
For a natural-look finish, agree on an acceptable range of grain and colour variation. Wood is not visually identical from piece to piece. A reference sample or agreed sample set is more useful than an undefined request for a perfect match.
2. Shape the blank around the garment
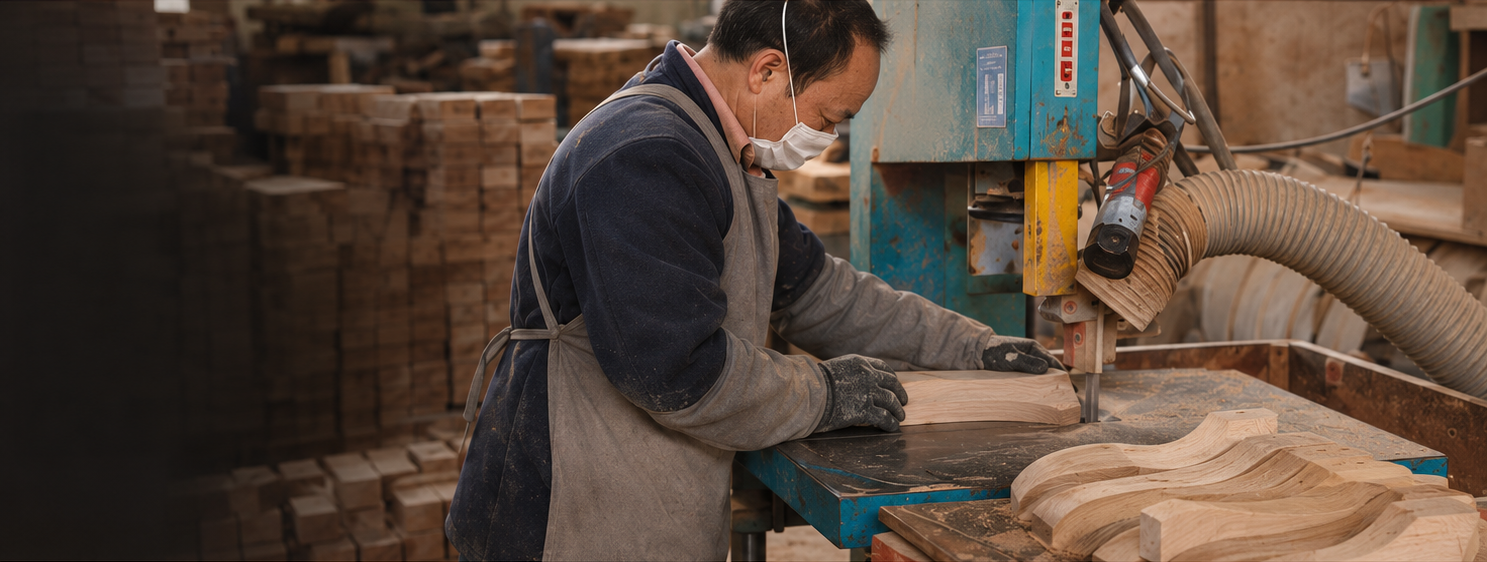
Cutting and shaping turn prepared wood into the hanger’s outline and shoulder profile.
For the buyer, the important result is the finished geometry. Confirm where width is measured, how the shoulders support the garment and whether the profile suits the planned rail spacing. Compare the sample with representative clothing rather than judging only the empty hanger.
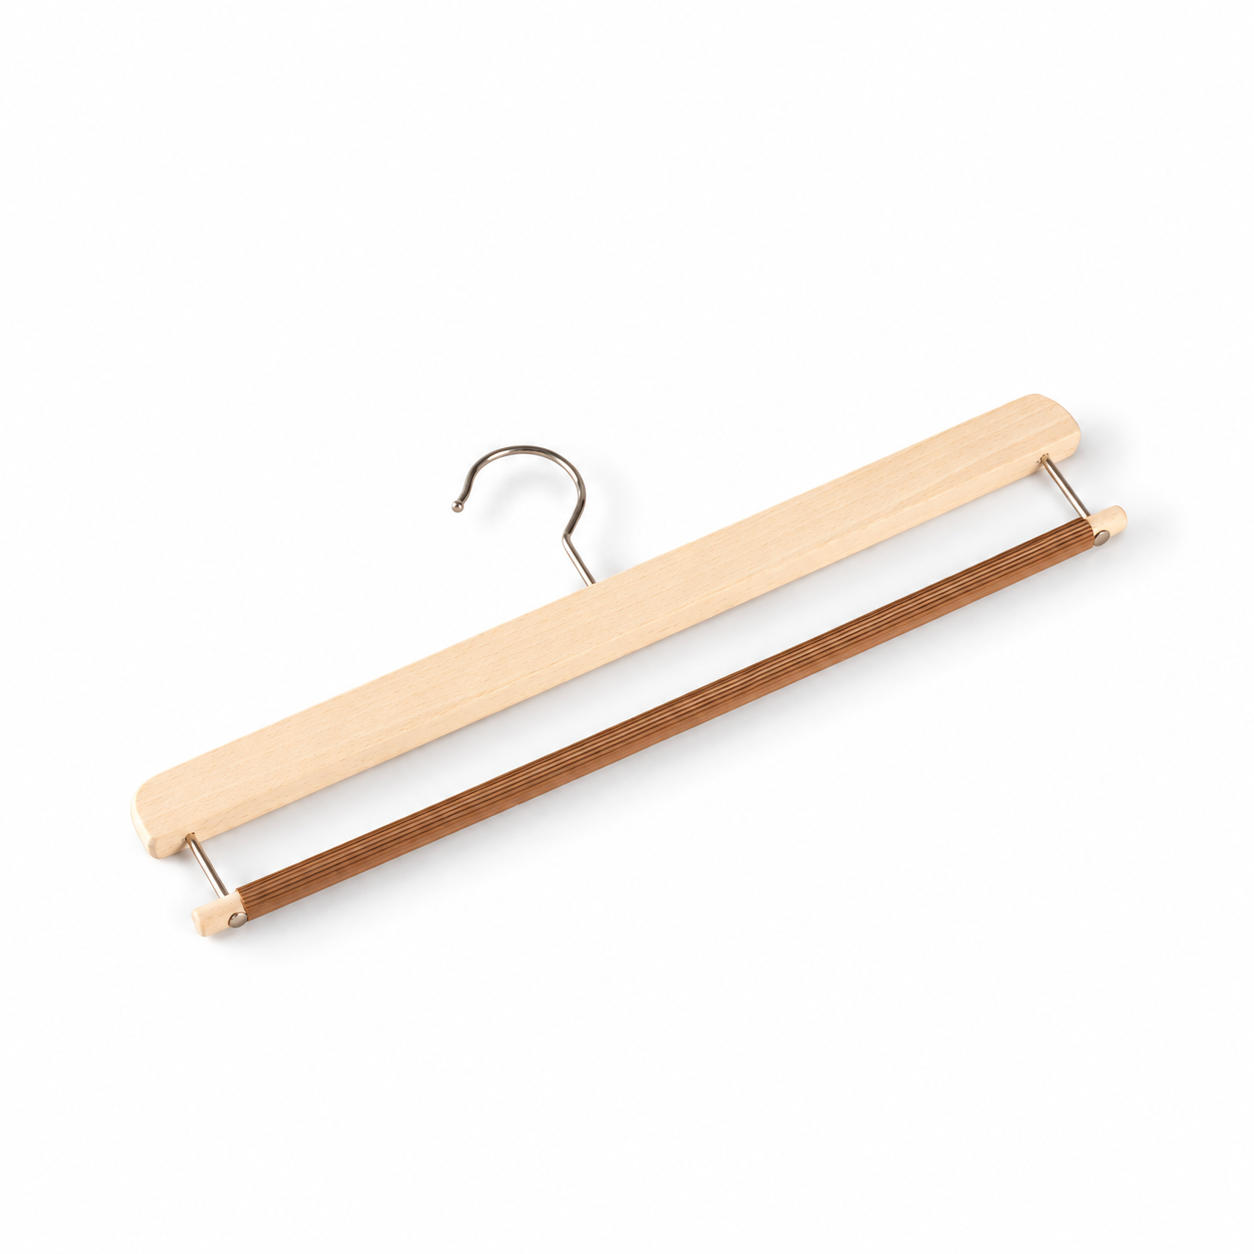
A wider shoulder may suit one tailored garment but be unnecessary for another product line. Ask for the actual configuration rather than treating heavy duty or luxury as measurable specifications. Review any notches, bar or clip arrangement with the intended garment too.
3. Sand the contact surfaces and edges
Sanding prepares the shaped wood for finishing and smooths areas that may touch fabric. Pay attention to shoulder ends, inner curves, notches and the underside, not just the front face visible in a display photograph.
One practical sample check is to inspect these areas under good light and handle them carefully, then trial the hanger with representative fabric. Delicate or loosely woven garments deserve particular attention.
Assess the shaped and sanded surfaces before branding distracts from the basics. A clear logo cannot compensate for an unfinished edge. Record unacceptable roughness or machining marks with photographs and reference locations so the supplier can address the specific issue.
4. Finish the wood and define the visual standard
Finishing establishes the final surface appearance. Depending on the model and available options, the brief may call for a natural wood look or a different colour and sheen. Confirm the finish offered and review a physical sample under its intended display lighting.
Assess the whole surface, including recesses and edges. Discuss visible drips, uneven coverage and colour differences as acceptance points. Do not assume a dark finish provides grip, a glossy surface is more durable, or a coating carries a particular certification.
If compliance documentation is needed, request evidence applicable to the selected material, finish and order. VNEW’s manufacturing overview describes how an approved specification guides these production stages.
5. Fit the hardware and review branding
Assembly brings together the wooden body and selected hook, bar or other fittings. Review alignment and fit on the sample. Confirm requested functions explicitly: do not assume every hook swivels or every clip configuration is available on every wooden body.
Approve branding on the finished configuration, with placement, scale and appearance shown clearly. A logo that works on one wood tone may look different on another. For quotation and artwork approval steps, use the separate custom wooden hangers guide.
6. Inspect, pack and keep a reorder reference
Inspection checks the assembled hanger against approved requirements before packing. Agree which dimensions, visual details and functional checks matter. Ask how the chosen packaging protects finished surfaces and exposed fittings; confirm carton details rather than assuming one standard pack suits every design.
Keep the approved sample, specification, artwork version and packing reference together as the basis for repeat orders. A clear account of how wooden hangers are made connects each production stage to an observable result: a consistent outline, smooth contact surfaces, an agreed finish and securely fitted components.
Frequently Asked Questions
Is a solid wood hanger always made from one piece?
Not necessarily. Construction varies, and a wooden body may use joined components. Ask the supplier to identify the specific model’s construction and review its joints and profile on the sample.
What should buyers check before approving a sample?
Check garment fit, agreed dimensions, contact edges, finish appearance, hardware fit and branding. Review packing separately, and record the configuration the sample represents.
Does a darker finish make a wooden hanger non-slip?
Colour alone does not establish grip. Confirm any claimed surface function for the selected model and assess it with representative garments before approval.
Why does sanding come before the final surface finish?
Shaping establishes the outline, while sanding smooths the surfaces and edges before finishing. A coating changes the final appearance, but buyers should not expect it to correct a rough contact edge or an unsuitable shoulder profile.
What is the difference between shaping and assembly?
Shaping creates the wooden body's outline and contact profile. Assembly brings the body together with the specified hook, bar or other fittings. Joined-body construction also has a wood-joining step; the sequence depends on the model rather than one universal factory recipe.
Explore VNEW’s wooden hanger collection and send the chosen design, intended garments and branding requirements with your enquiry. Request a model-specific proposal and approved sample before production. Clear requirements make craftsmanship easier to evaluate and the finished order easier to check.
Buyer path
Continue from guidance to a working specification
Compare hanger options, define quantities by model and finish, then prepare the specifications needed for a quotation.
Share this story
Save or forward this article to your sourcing and merchandising team.